Apartment Renovation Textured Ceiling Treatment: A Comprehensive Guide
Are you tired of dealing with an ugly textured ceiling in your apartment? Do you want to transform the look of your living space without breaking the bank? Look no further! In this article, we'll explore the world of apartment renovation textured ceiling treatment, including the different types of textures, how to choose the right one, and tips for a successful DIY project.
Types of Textured Ceilings
- Popcorn Ceiling:** Characterized by its heavily textured, bumpy surface, it's known for its exceptional sound-dampening qualities. However, due to potential asbestos concerns in older popcorn ceilings, it's crucial to test before removal or renovation.
- Knockdown Ceiling:** A type of textured ceiling that's created by spraying joint compound onto the ceiling and then using a specialized tool to "knock down" the excess compound, leaving a smooth, even surface.
- Orange Peel Ceiling:** A textured ceiling that's created by applying a thin layer of joint compound to the ceiling and then using a special tool to create a textured, orange-peel-like surface.
- Stomp Ceiling:** A type of textured ceiling that's created by applying a thin layer of joint compound to the ceiling and then using a specialized tool to create a textured, stomp-like surface.
Choosing the Right Textured Ceiling Treatment

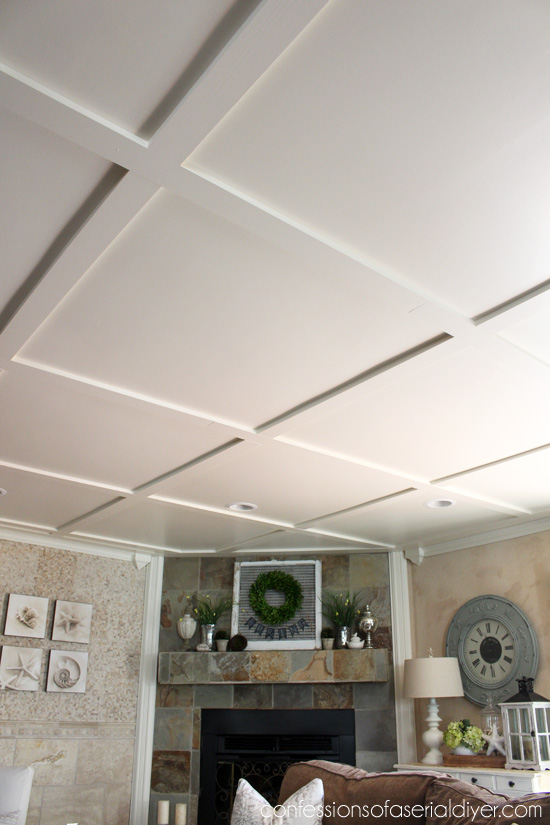
This particular example perfectly highlights why Apartment Renovation Textured Ceiling Treatment is so captivating.
With so many options available, choosing the right textured ceiling treatment can be overwhelming. Here are a few things to consider:
- Aesthetics:** Think about the style and design of your apartment. If you're going for a modern look, a smooth ceiling may be the way to go. If you're looking for a more traditional or vintage look, a textured ceiling may be the better choice.
- Consider the functionality of your apartment. If you have a lot of noise in your apartment, a textured ceiling with good sound-dampening qualities may be a good choice.
- (Budget:** Consider your budget for the project. Some textured ceiling treatments may require specialized tools or materials, which can add to the cost.
Renovating a textured ceiling can be a DIY-friendly project, but it does require some planning and preparation. Here are a few tips to keep in mind:
- Prepare the surface:** Make sure the ceiling is clean and free of any debris or dust. Sand the surface to create a smooth, even surface for painting or applying texture.
- Choose the right tools:** Depending on the type of textured ceiling you're creating, you may need specialized tools, such as a textured ceiling comb or a stomp tool.
- Apply the texture:** Use a putty knife or trowel to apply the texture to the ceiling. Make sure to work in small sections to avoid creating a mess.
- Allow the texture to dry:** Let the texture dry completely before applying a coat of paint or sealant.
This particular example perfectly highlights why Apartment Renovation Textured Ceiling Treatment is so captivating.
Conclusion
Renovating a textured ceiling can be a fun and rewarding DIY project. With the right tools and a little bit of planning, you can create a beautiful, unique ceiling that adds character and functionality to your apartment. Remember to consider the aesthetics, functionality, and budget for your project, and don't be afraid to get creative and try something new!
- Homewyse Calculator: Use this calculator to estimate the cost of a textured ceiling project, including materials and labor.
- Texture Paint Guide: Learn more about texture paint and how to apply it to create a unique and beautiful textured ceiling.
- DIY Textured Ceiling Tutorial: Watch this tutorial to learn how to create a textured ceiling using a variety of different techniques and tools.


")


:max_bytes(150000):strip_icc()/GettyImages-1253112119-fab7c3a83bed48499041241bf430e462.jpg "Cost to Texture Ceiling - 2026 Cost Calculator (Customizable) - Homewyse")


