Off-Grid Apartment Thermostat Installation: A Comprehensive Guide
Installing a smart thermostat in an apartment can help you save money on energy costs. By allowing you to set schedules and customize temperature settings, you can optimize your heating and cooling system for maximum efficiency. Additionally, smart thermostats provide remote access, enabling you to control the temperature even when you're not at home.Types of Thermostats Suitable for Off-Grid Apartment Installation
If you're considering installing a smart thermostat in your off-grid apartment, you should opt for a model that's compatible with your HVAC system. Some popular options include:- Wi-Fi enabled thermostats, such as the Nest or Ecobee, which provide remote access and scheduling capabilities.
- Programmable thermostats, which allow you to set temperature schedules and adjust settings manually.
- Remote thermostats without Wi-Fi, which offer essential features like scheduling, manual overrides, and remote access through alternative methods.

This particular example perfectly highlights why Off Grid Apartment Thermostat Installation is so captivating.
Step-by-Step Off-Grid Apartment Thermostat Installation Guide
While installing a smart thermostat in your apartment is a relatively DIY-friendly project, it's essential to take the necessary precautions to avoid damage to your HVAC system or risk of injury. Here's a step-by-step guide to follow: 1. Turn Off Power to the HVAC System: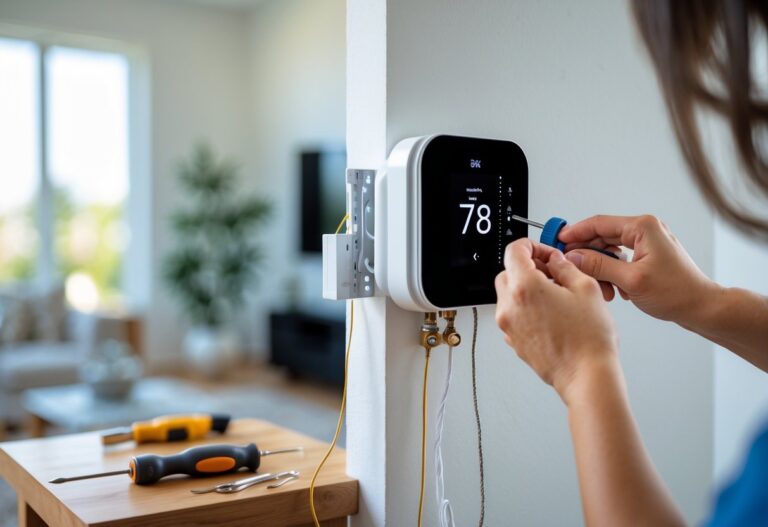
Moving forward, it's essential to keep these visual contexts in mind when discussing Off Grid Apartment Thermostat Installation.
Before starting the installation process, switch off the power to your heating and air conditioning system at the main service panel. Safety tip: Make sure you don't install a new thermostat on circuits exceeding manufacturer-specified limits. 2. Remove the Old Thermostat: Locate and remove your existing thermostat, taking care not to damage any wires or connections. 3. Connect the New Thermostat: Follow the manufacturer's instructions to connect the wires to the new thermostat. Typically, you'll need to connect:- W1, W2, and G (24V common) for a single-stage system.
- W1, Y, G (24V common), and F (fan disconnect) for a two-stage system.


")


 | Family Handyman")


